
Featured
Im so excited to show you this fun space I had the pleasure of decorating with the new Old Time Pottery store- Gabe’s! Gabe’s is like Old Time Pottery but better! They have all kinds of things for everyone in the family- even your pet! Don’t worry, they still have a large section of Old […]
Read

Featured
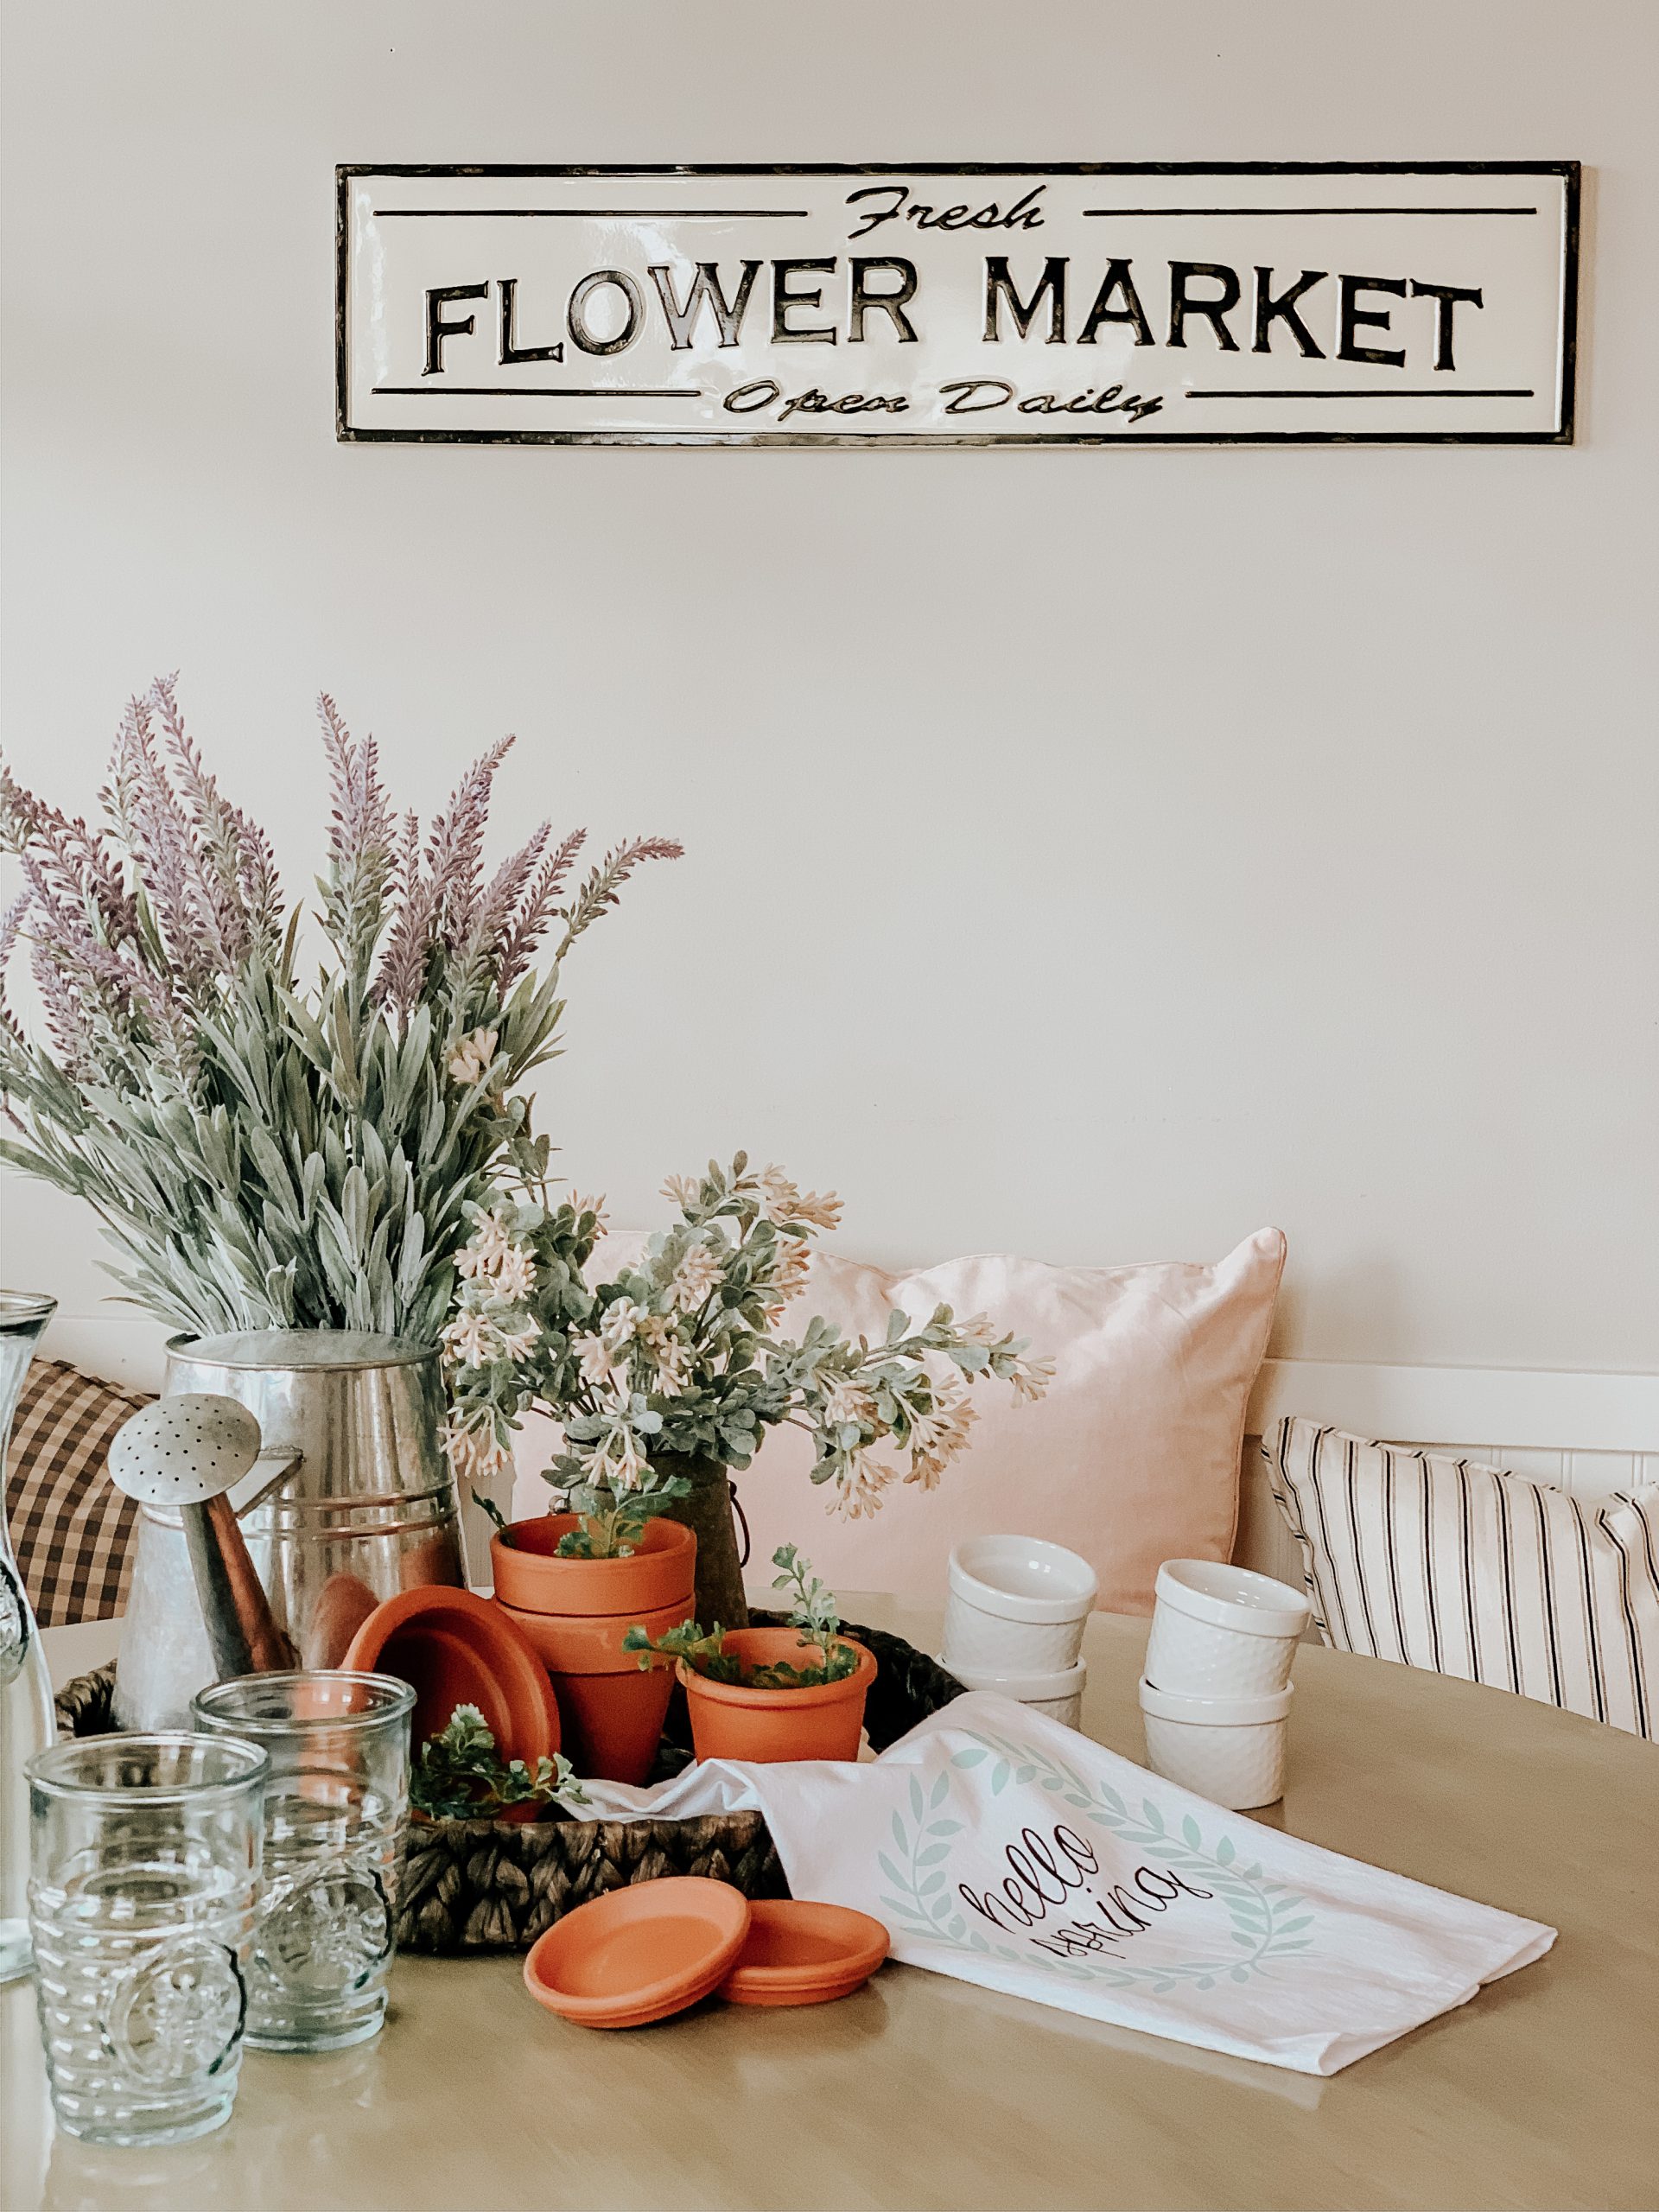
We are welcoming Spring to our home this week with a bit of new decor from Old Time Pottery! I decided to refresh the entry table first since it’s the first thing you see as you come in the house. This is one of my favorite spaces to change up for the seasons. As always, […]
Read
Featured
Before I start this post I just want to say I am not an artist by any means! I kept seeing these textured art pieces all over Pinterest and thought maybe I can make one! I do not have the thousands of dollars to spend on a piece of art. Plus I don’t want to […]
Read
Featured
With all of the rain we’ve had lately I’m expecting a super turn out of flowers this Spring! Since it’s been so gloomy lately, I decided to cheer up the indoors with some faux florals. My favorite place for seasonal décor, Old Time Pottery, has some of the prettiest Spring florals! I just love the […]
Read
DIY Textured Art
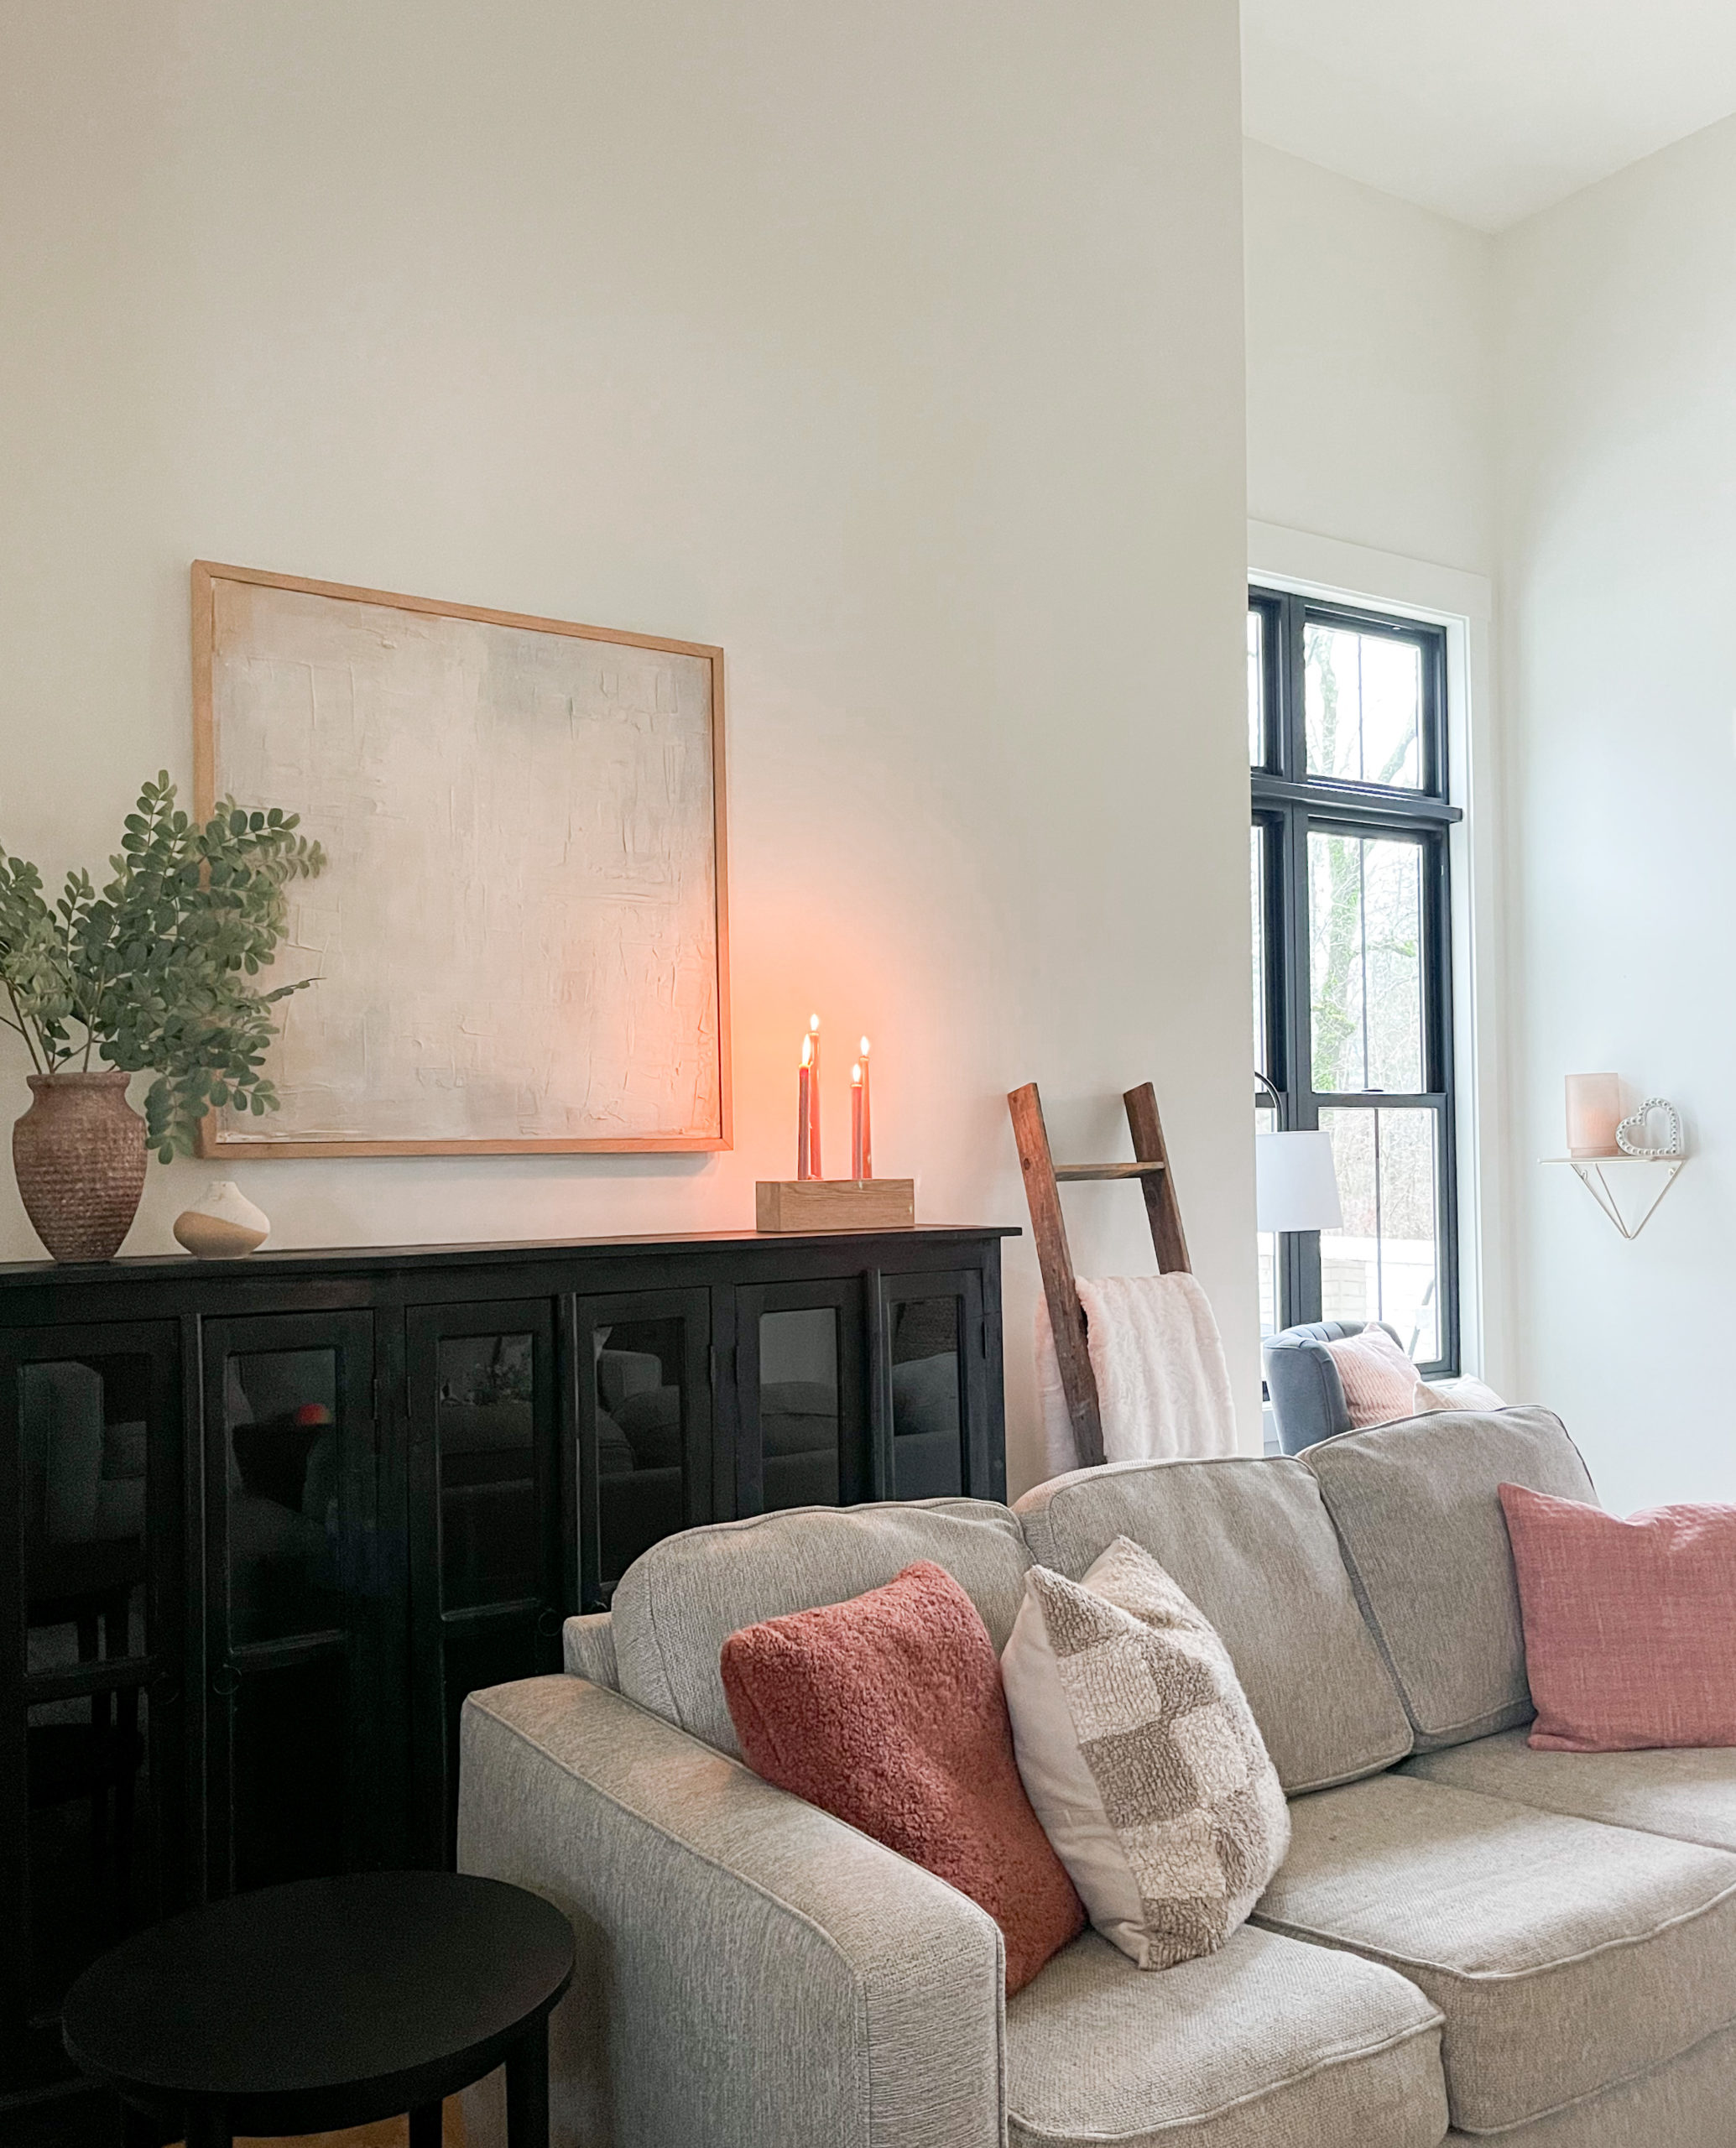
Before I start this post I just want to say I am not an artist by any means! I kept seeing these textured art pieces all over Pinterest and thought maybe I can make one! I do not have the thousands of dollars to spend on a piece of art. Plus I don’t want to be tied down to something for the rest of my life! I like changing things up too much.

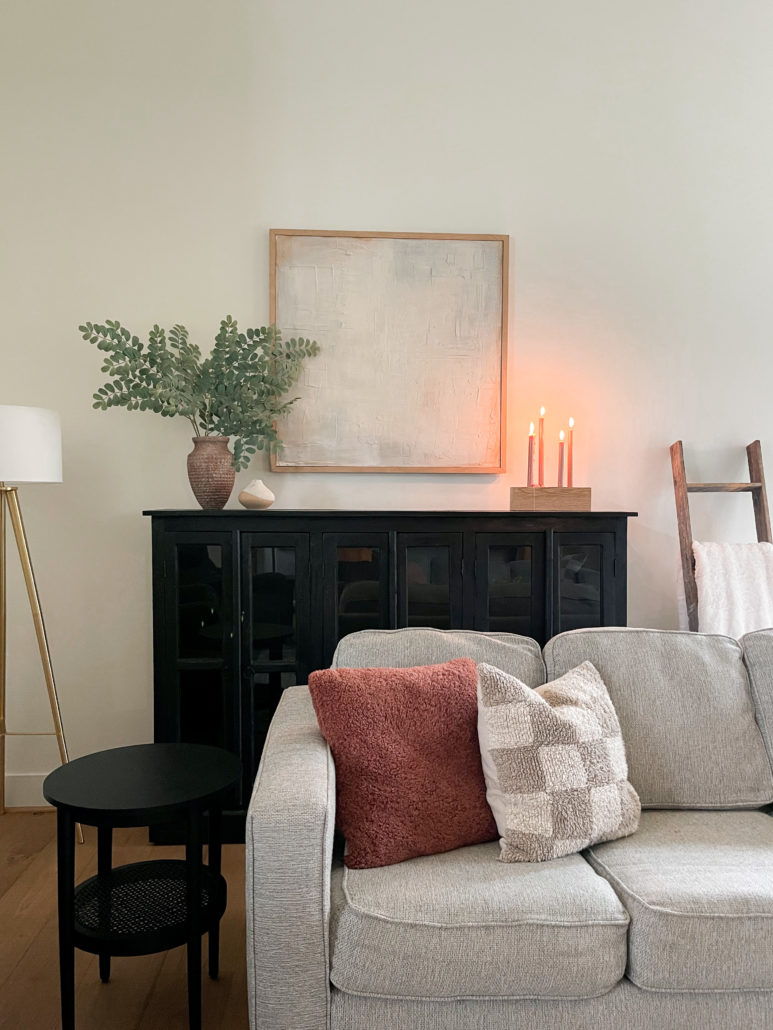
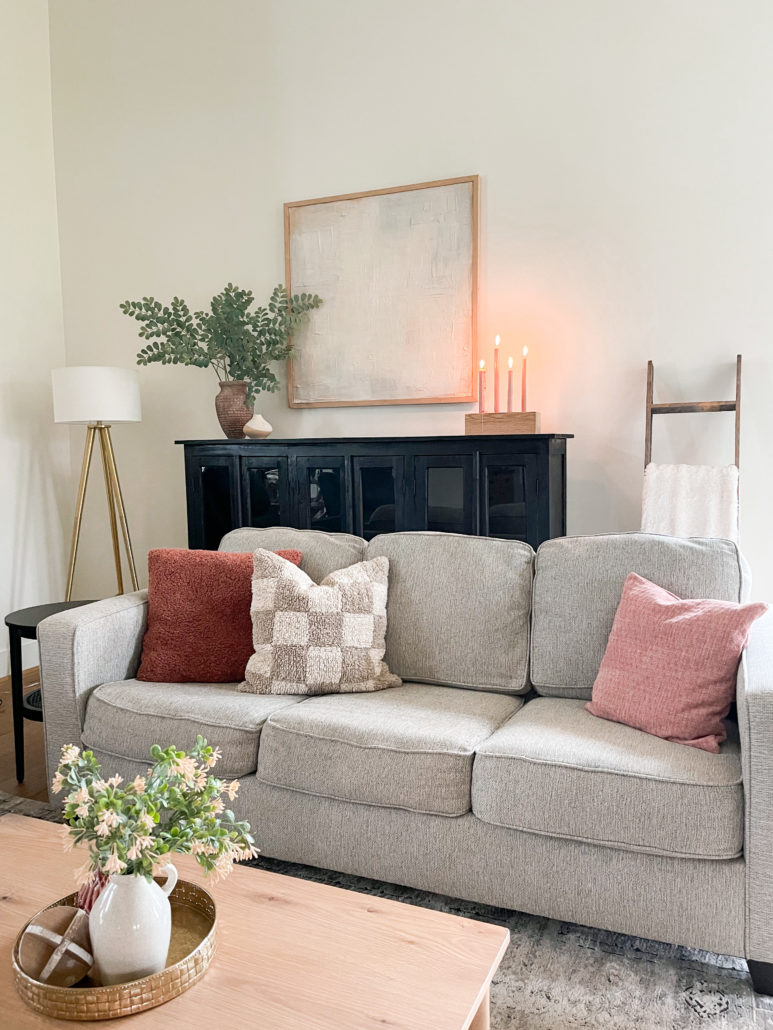
We have high ceilings in our main living area which I love but they can be tricky to decorate. This large white wall needed something to warm it up. I love how this piece turned out. Here’s how I made it:
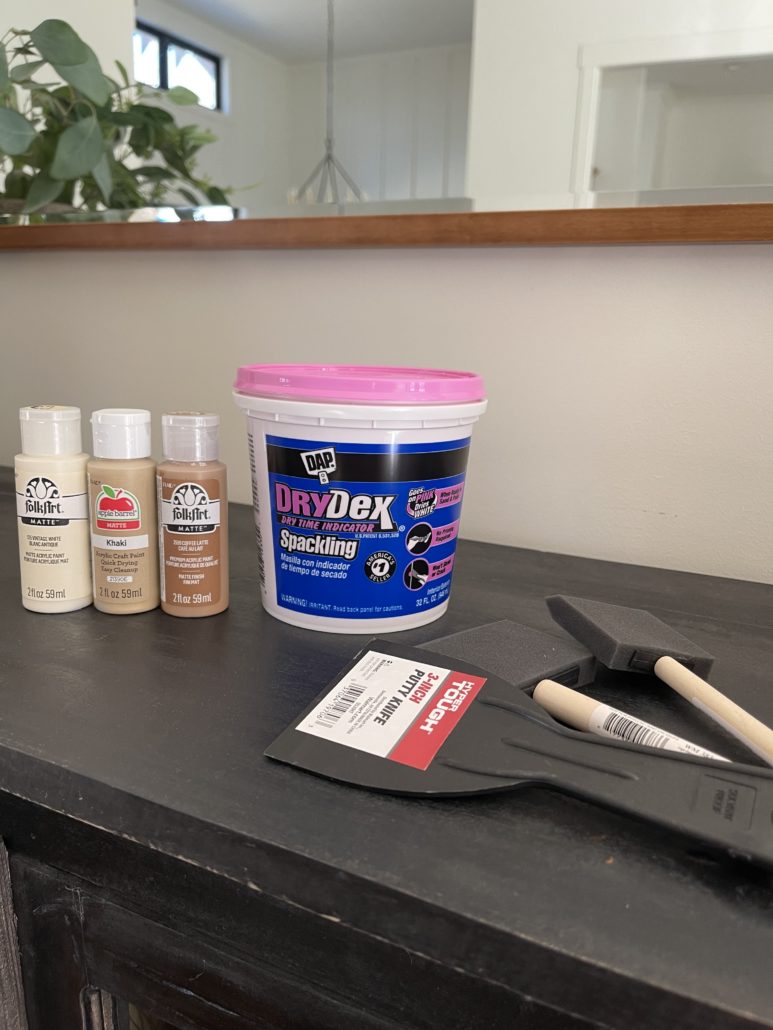
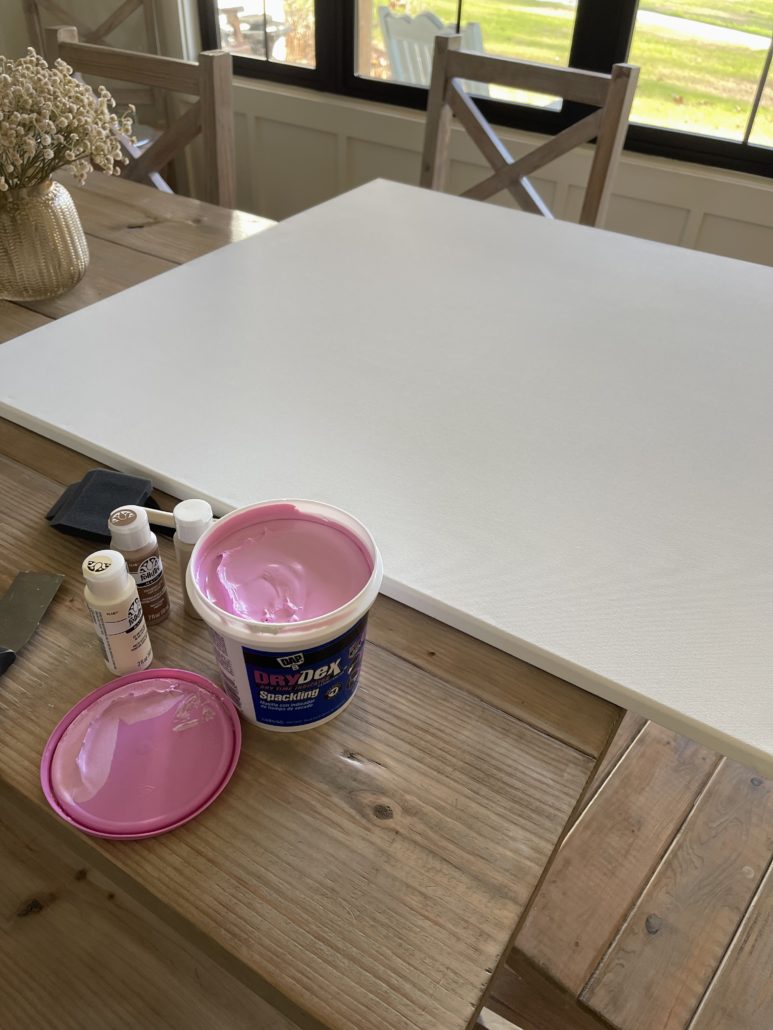
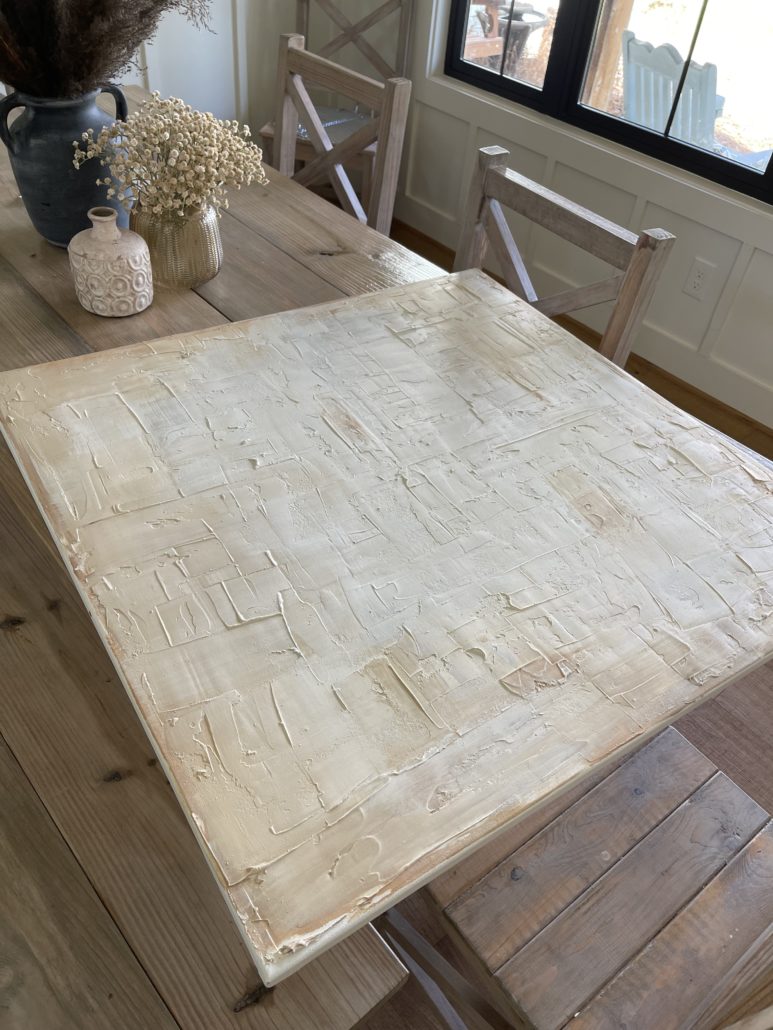
I knew the piece needed to be really large so I ordered a 36 x36 canvas off of Amazon. They only came in a pack of two for $85. Not bad at all. Then I purchased spackling to make the textured look. I bought the kind that starts out pink and turns white when it dries so that I could see where I was applying it.
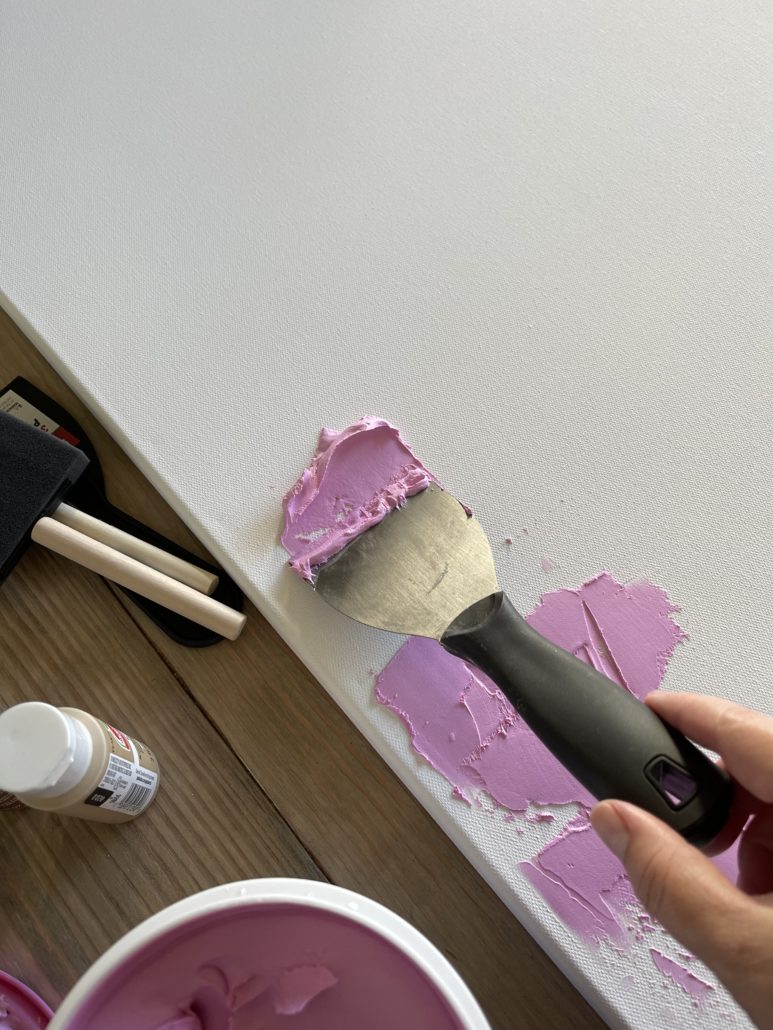
I started applying it with my putty knife in short strokes all over the canvas. You can apply this anyway you like.
Here is what it looks like before it dries.
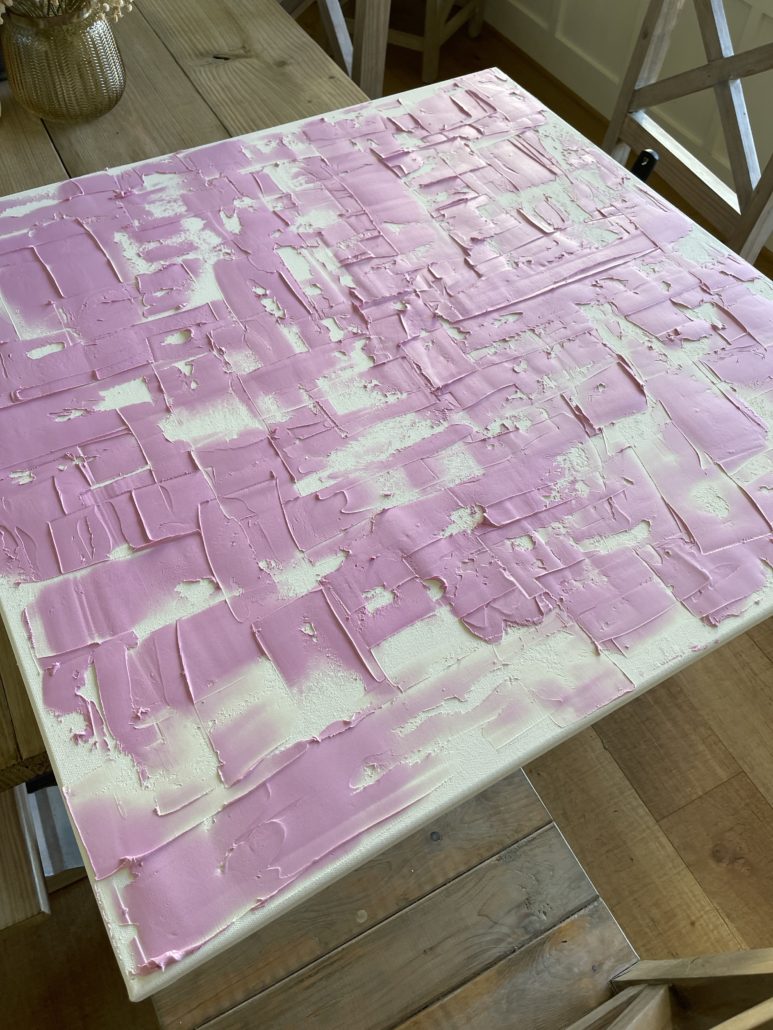
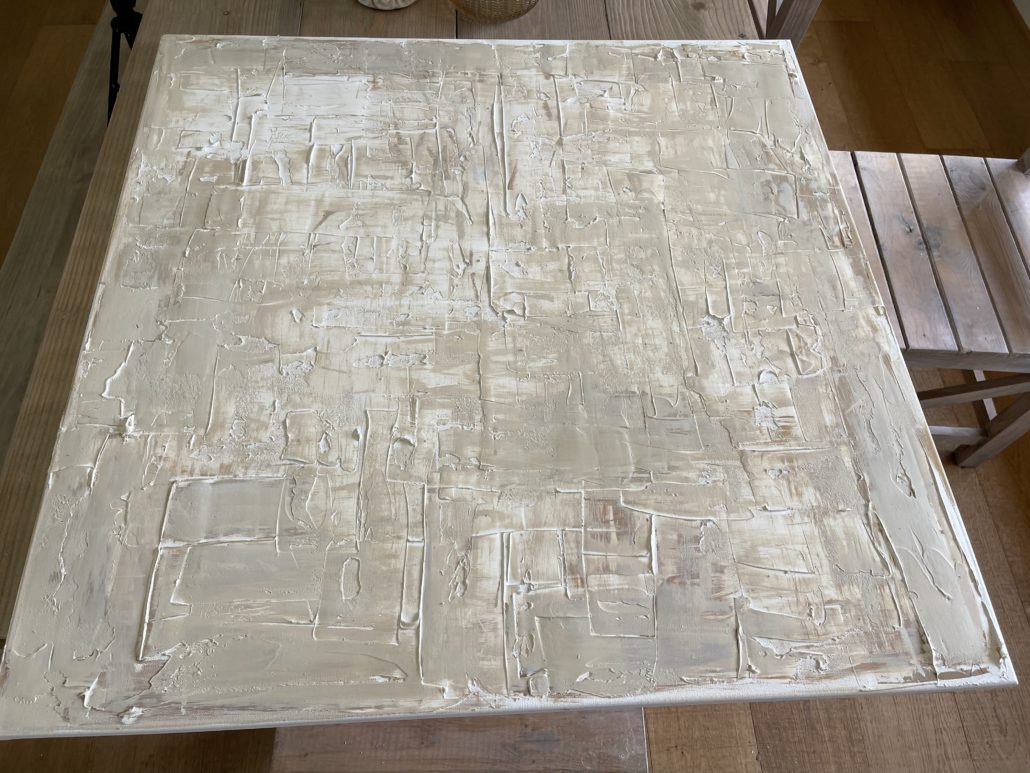
Here it is almost dry.

Some people stop here. If you are just wanting some texture, this is perfect. I wanted to add some neutral colors to it. I chose a cream, khaki, and brown acrylic paint.

I applied the darkest color first thinking I would go back over it with the cream color. I used a sponge brush. I would recommend using a regular paint brush. The sponge made it too solid looking. I would also have thinned my paint with a little water.
I won’t bore you with the different ways I painted it at first. It took several tries and a lot of blending to finally get the look I was going for.
This looked way to messy for me. I went back and thinned my paint and used a large paint brush and started blending in the cream over this.
This was much better. After this, I added a little grey and blended more. Here is the final result-
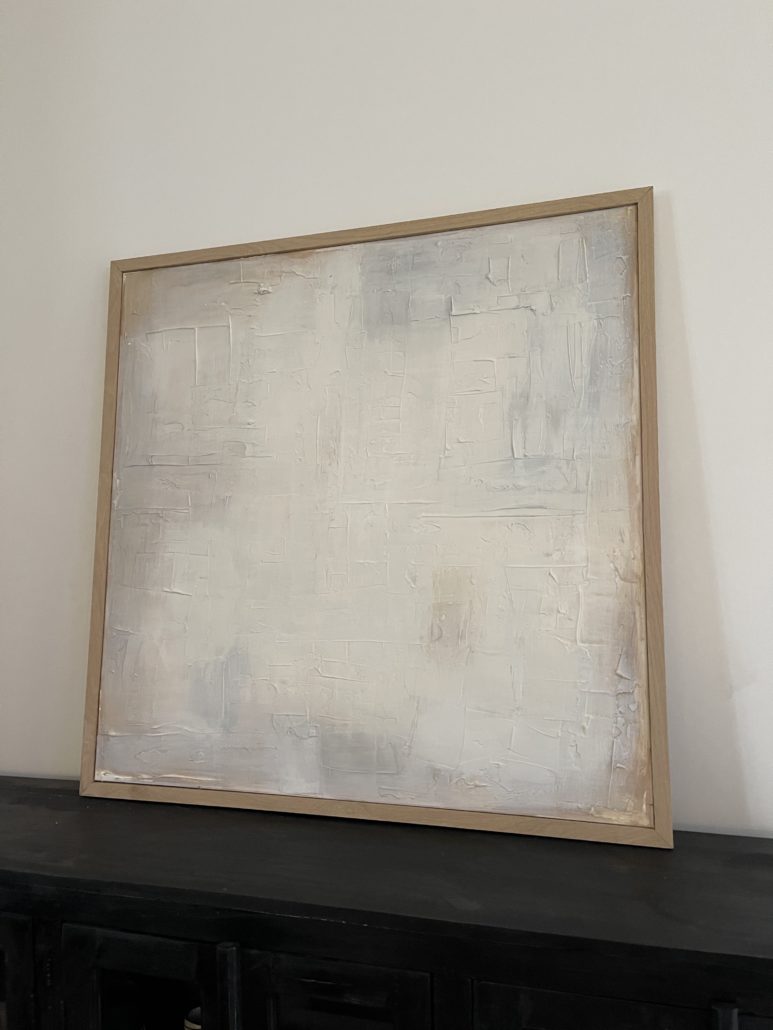
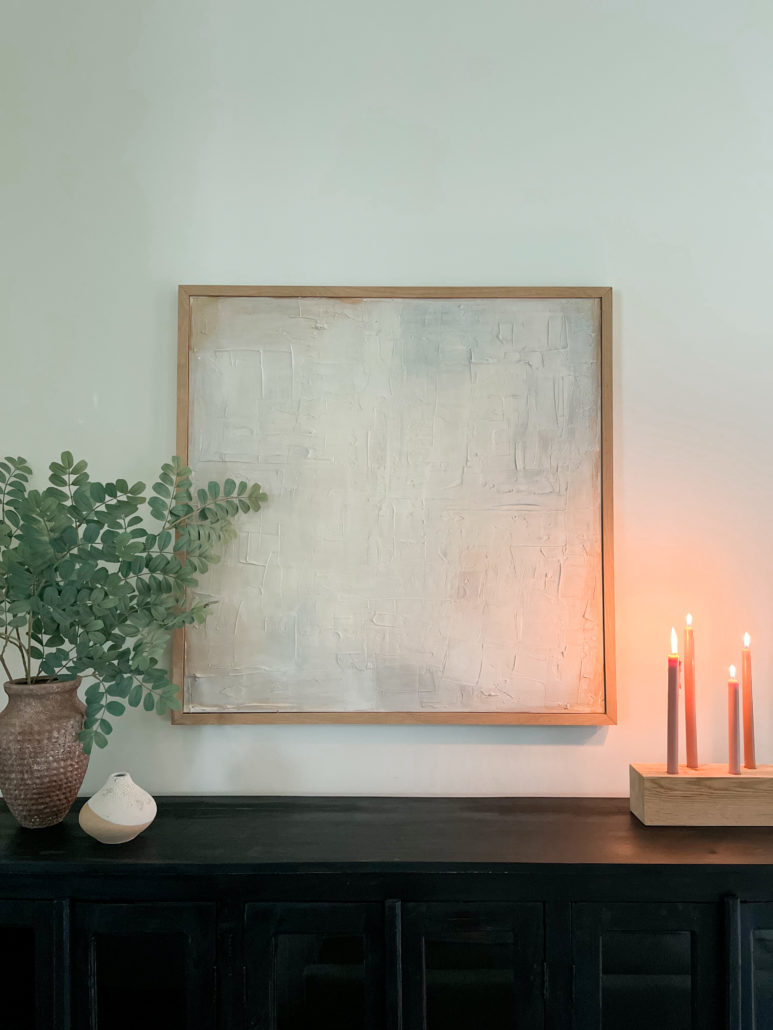
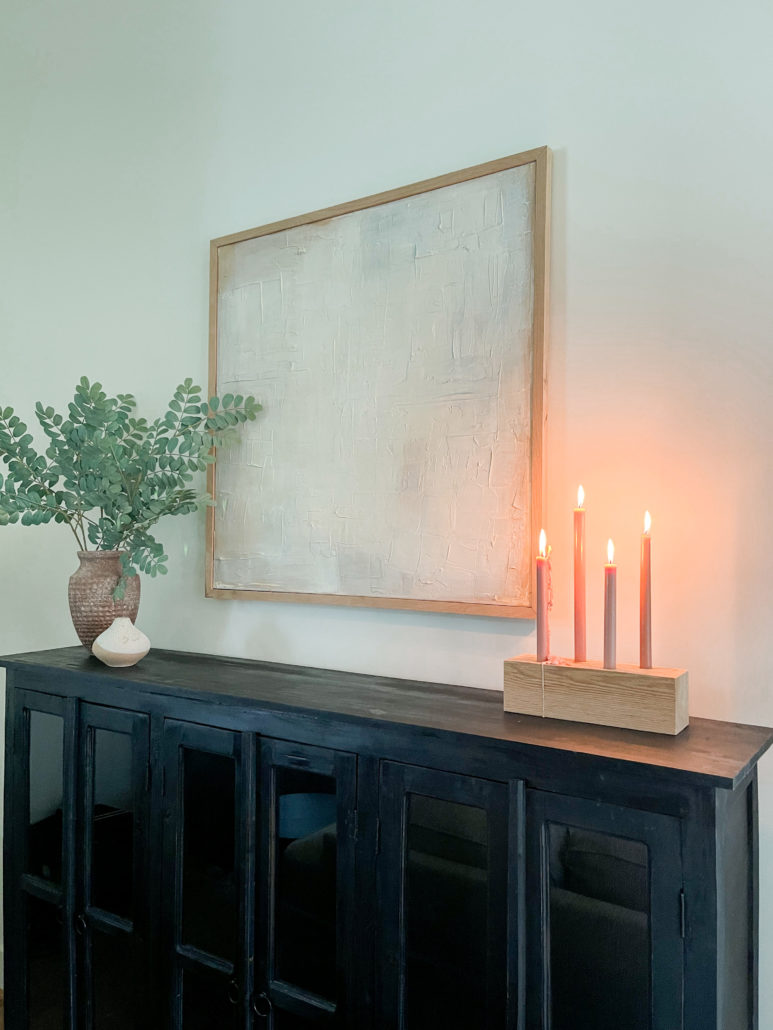
My husband framed it with a scrap piece of white oak that matches our cabinets. If you can, hold onto your scrap wood! You can make all kinds of things out of it.

Just like this candleholder! Its like the one we made for the dining room just smaller.
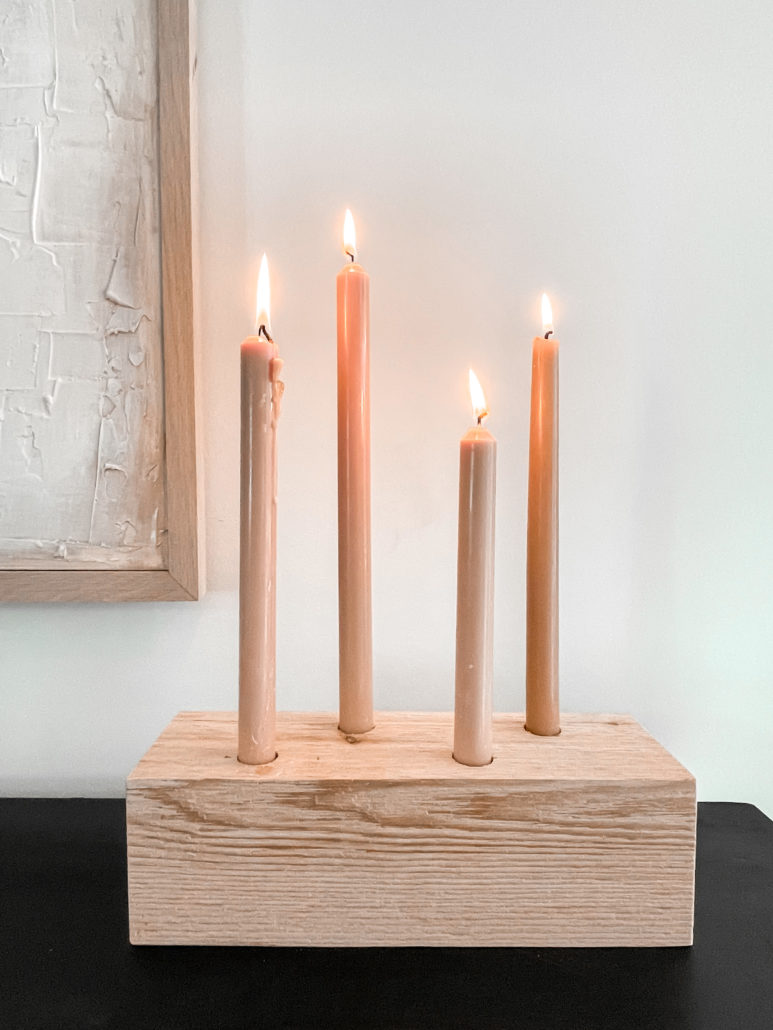
I wanted something simple and modern to go with the artwork. I love the glow of the candles.
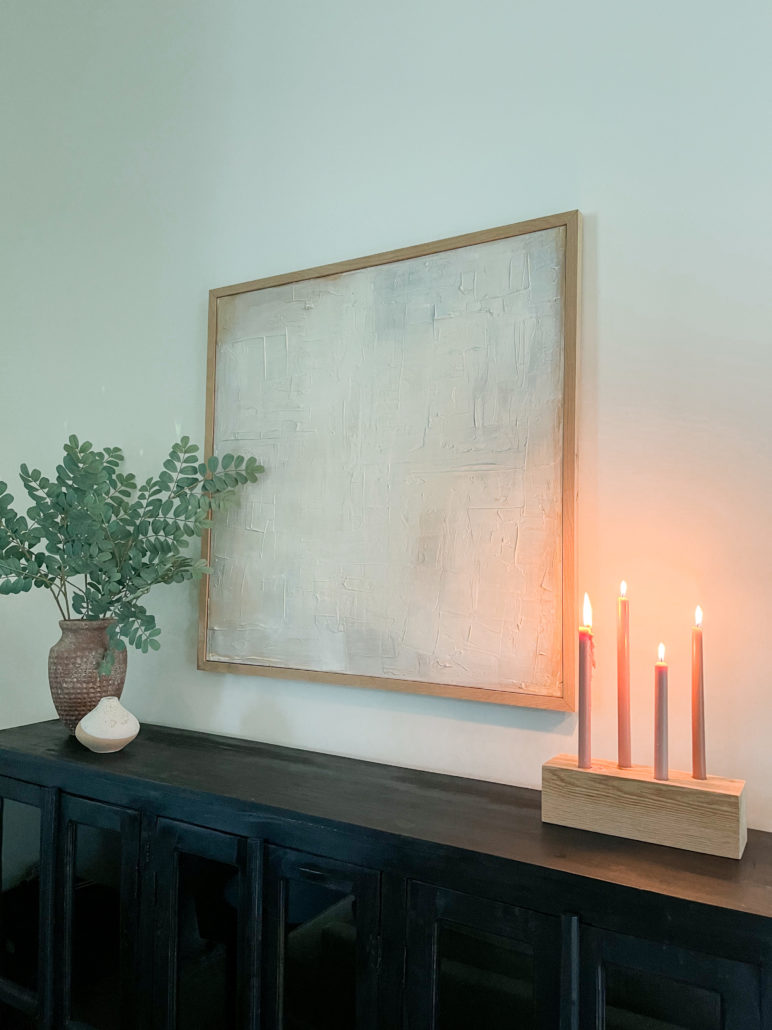
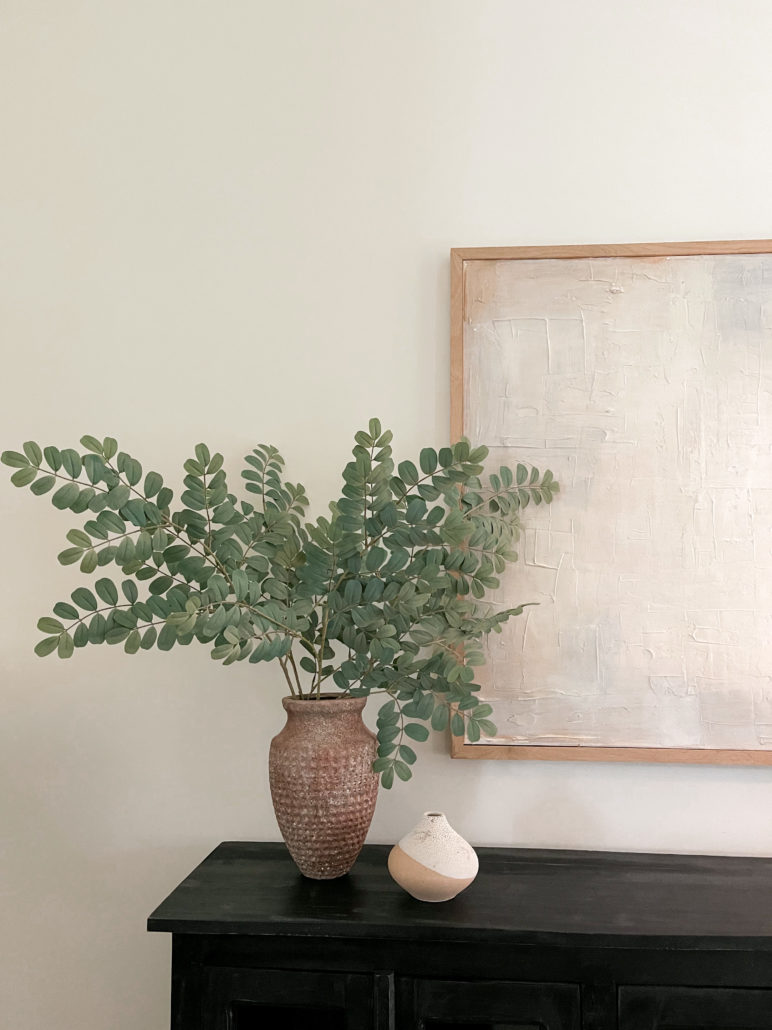
This area definitely needed some greenery. I love these stems I got from Michaels.
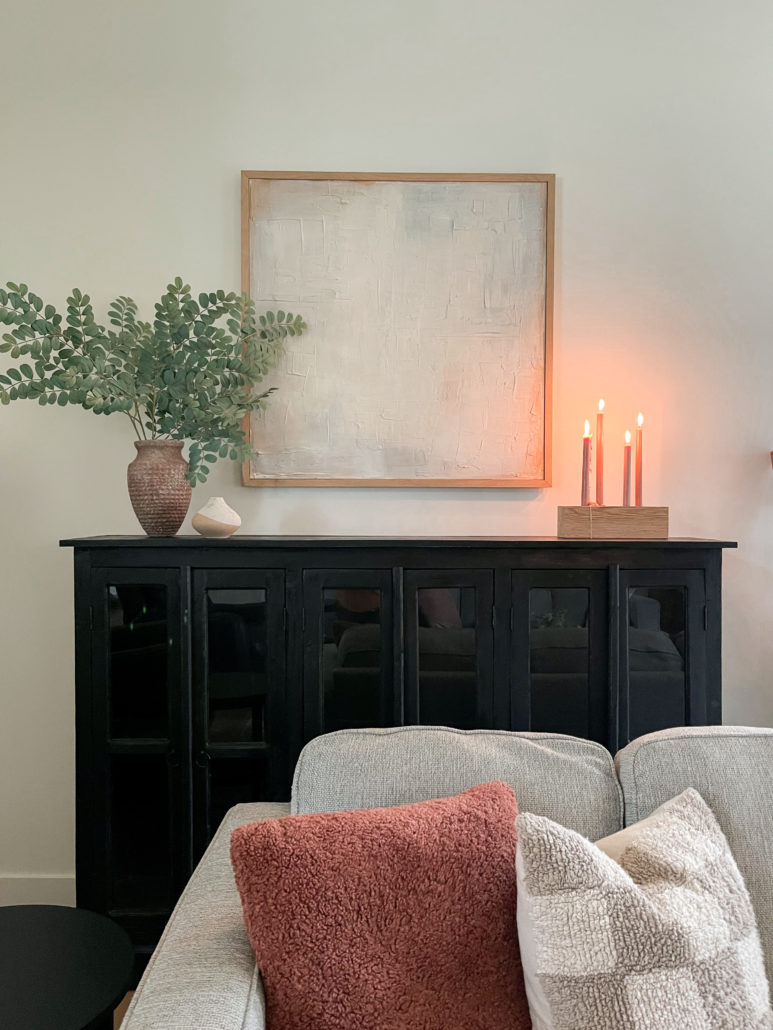
I brought in a little color and coziness with these shaggy pillows.

I love how the artwork looks in this space. It adds interest without being overwhelming and busy. Im so glad I did it! The total cost was under $70! You can’t beat that!

Would you try to make your own textured art? If I can, you can! Let me know if you have any questions, I’ll be happy to help.
XOXO,
Jo

Beautiful as always! Can’t wait to see what is next.